
How a Swimming Pool Contractor Installs a Gunite Pool
Building a concrete oasis in your backyard requires careful planning and skilled execution. Many homeowners choose gunite because it offers great durability and allows for endless shape customizations. The process transforms a basic yard into a relaxing retreat for family and friends. While the idea of adding a water feature is exciting, the actual construction involves multiple heavy phases that demand professional oversight. A reliable swimming pool contractor will manage every phase to ensure the final product meets local safety standards and structural requirements.
The journey to a finished swimming area spans several weeks or months. Homeowners often wonder what happens during this extended timeline. Knowing the sequence of events helps you prepare for the temporary noise, dirt, and heavy machinery. Each phase serves a specific purpose in creating a watertight vessel capable of holding thousands of gallons of water. Explore the steps involved in bringing a custom gunite project to life.
1. Custom Design and Local Permitting
The initial phase centers on creating a blueprint that maximizes your available yard space. Professionals use three-dimensional modeling software to show exactly how the new addition will look next to your home. You will discuss depths, entry steps, and features like built-in seating or attached spas. This planning stage ensures the design aligns with your budget and aesthetic preferences before any physical labor begins.
Once you finalize the layout, the focus shifts to navigating local building regulations. Obtaining the right permits is a mandatory step that prevents future legal or financial headaches. Municipalities have strict rules regarding setbacks, fencing requirements, and electrical safety. According to IBISWorld, there are over 22,700 swimming pool construction businesses across the U.S. This high number means local permit offices handle many requests daily, so approval times can vary from a few weeks to a few months.
Your swimming pool contractor handles this paperwork to keep the project moving forward without delays. They submit the engineering plans and soil reports required by your county. Building inspectors review these documents to verify the proposed structure will be safe and stable. You can't start moving dirt until the local government stamps the official approval on your plans.
During this waiting period, utility companies visit your property to mark underground lines. Gas, water, and electrical lines must be clearly identified to prevent dangerous accidents during the digging phase. The crew will also map out the access route for the heavy equipment to transport soil out of the yard.
2. Excavation and Steel Frame Placement
With permits secured and utilities marked, the physical work begins. Heavy excavators roll onto your property to carve out the shape outlined in the blueprints. This process generates tons of dirt that must be hauled away in dump trucks. The digging usually takes one to three days, depending on the weather and the composition of your soil.
After the hole is dug, workers refine the shape using manual shovels. They sculpt the dirt to create the precise slopes, ledges, and deep ends required by the design. Wooden forms are then placed around the perimeter to establish the exact elevation of the outer edges. This shaping provides a solid earth template for the concrete shell.
The next critical step is installing the plumbing system and the steel reinforcement cage. Plumbers lay out the PVC pipes for the main drains, skimmers, and return jets before the steel goes in. Once the pipes are secure, workers tie hundreds of steel rebar pieces together in a grid pattern across the excavated hole.
The rebar cage provides the necessary tensile strength to prevent the future shell from cracking under pressure. Spacers keep the steel grid elevated off the dirt floor, ensuring the concrete will encase the metal bars. A skilled swimming pool contractor pays close attention to this grid because it forms the structural backbone of the entire project.
3. Applying and Curing the Gunite Structure
The application of the concrete shell is often the most exciting day of the project. Gunite is a dry mixture of sand and cement pumped through a high-pressure hose. Water is added at the nozzle right before the material shoots out. This application method creates a dense, structurally sound shell that hugs the steel rebar cage tightly.
Technicians move methodically around the hole, spraying the material from the deep end up to the shallow end. As the mixture is sprayed, other workers use large trowels to carve and smooth the rough surfaces. They shape the steps, benches, and walls to match the exact dimensions specified in the engineering plans.
Once the spraying and shaping are finished, the shell must cure to achieve its maximum strength. This curing process takes about 28 days. During the first seven to 10 days, you must water the shell lightly several times a day. Keeping the surface damp prevents the material from drying out too quickly.
The curing period requires patience, but it allows the team to focus on other essential tasks. Electricians will wire the lighting fixtures and set up the equipment pad. The equipment pad houses the pumps, filters, and heaters that keep the water clean and comfortable for everyday use.
4. Plastering, Surrounding Hardscape, and Filling
While the shell finishes curing, attention turns to the coping and the surrounding deck. Coping is the decorative edge placed right along the perimeter of the shell. You can choose materials like natural stone, brick, or poured concrete to frame the water. The surrounding deck is then installed to provide a safe walking surface.
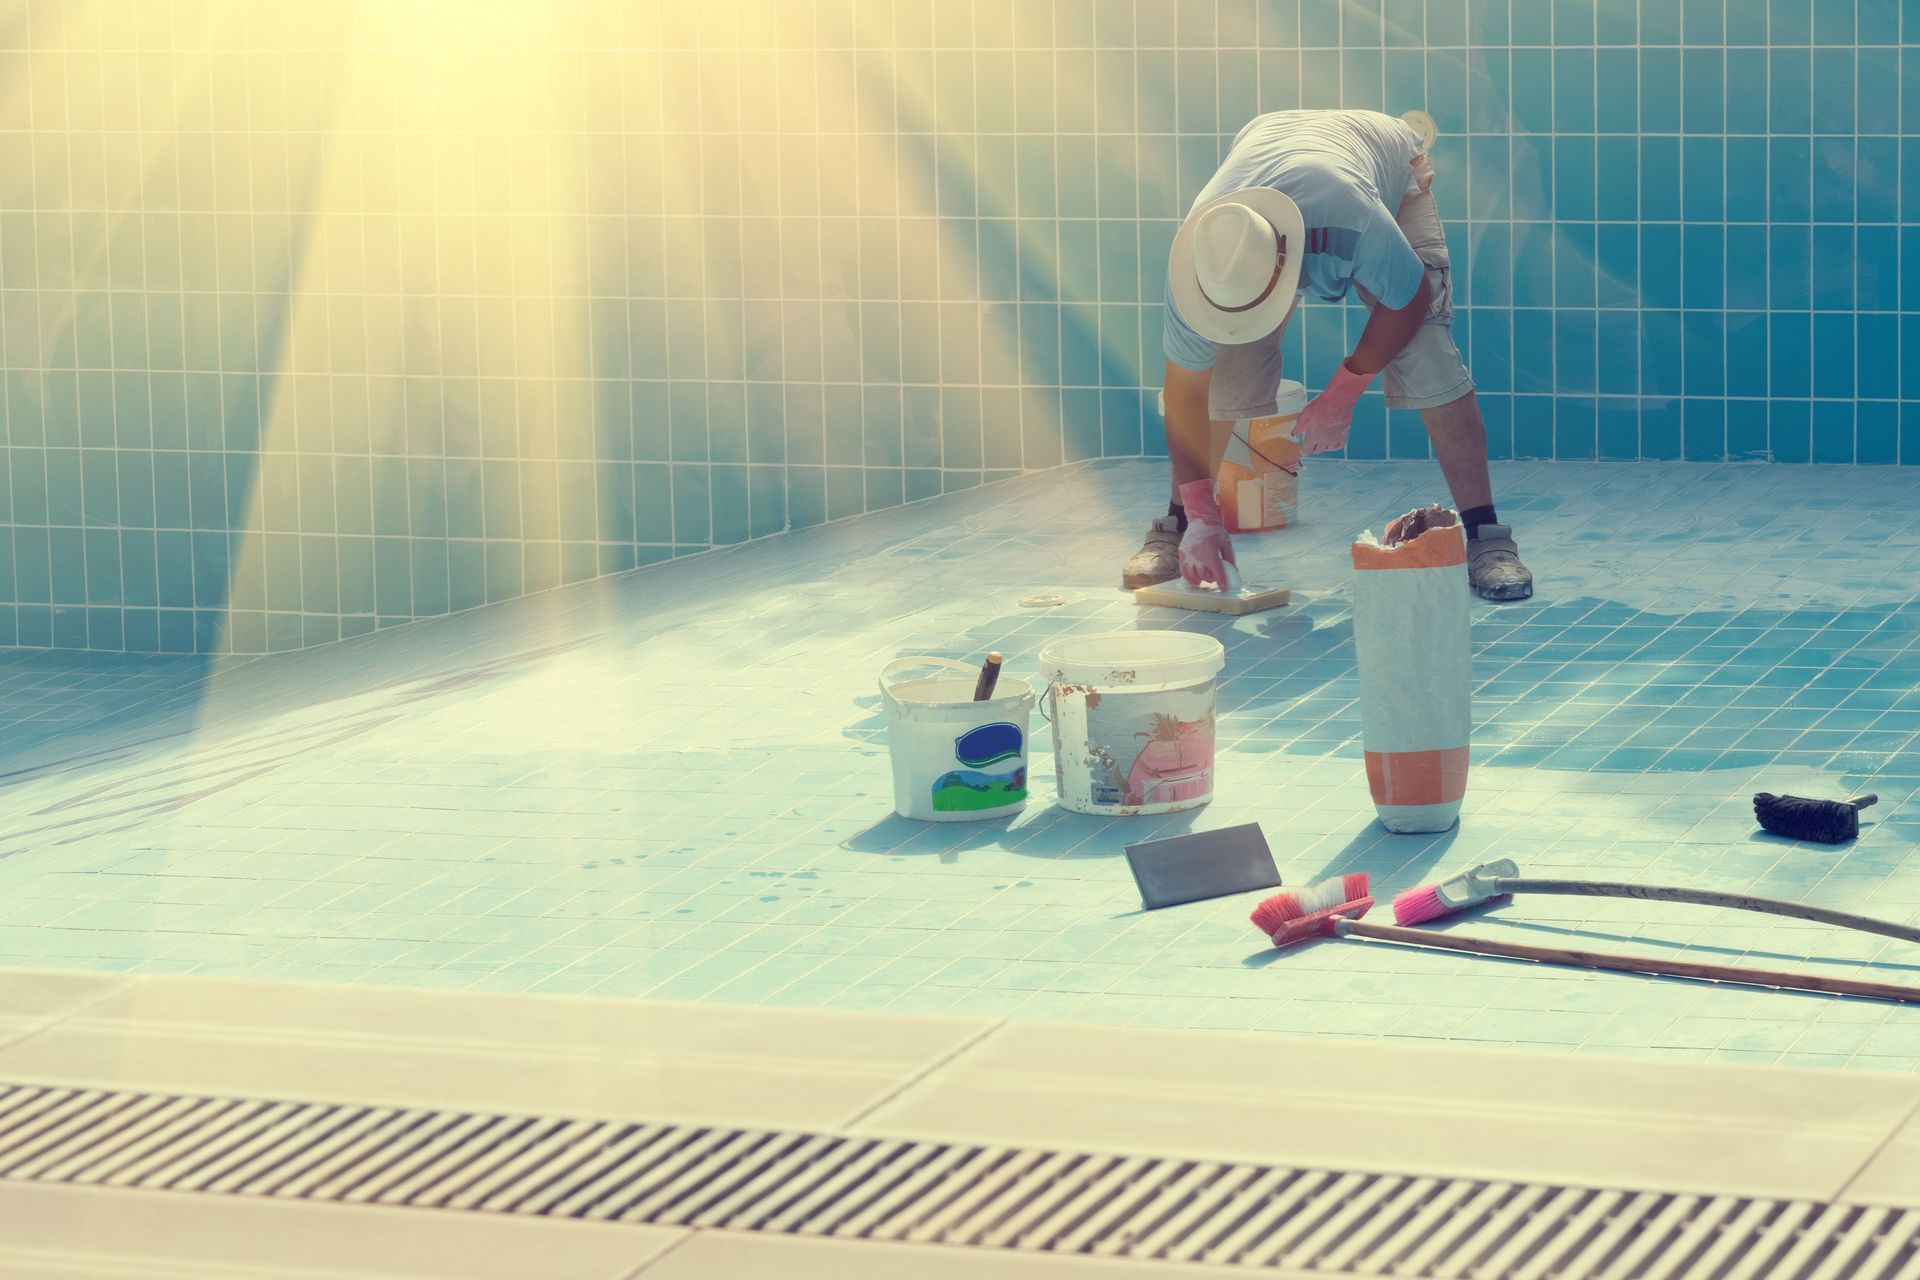
Tile is also applied during this waiting period. A six-inch band of waterline tile is installed just below the coping. This tile serves a functional purpose by preventing body oils and sunscreen from staining the concrete shell. It also gives you a chance to add a pop of color to the overall design.
The final construction step is the interior finish, commonly called plaster. The plaster gives the surface a smooth texture and provides the final waterproofing layer. Crews apply the mixture by hand, wearing spiked shoes to avoid leaving footprints. Once the plaster is smoothed out, a swimming pool contractor will begin filling the structure immediately.
Filling the vessel can take a day or two using a standard garden hose. You can't stop the water flow until the level reaches the middle of the waterline tile, or you'll get a permanent ring. Once full, the pumps are turned on, and chemicals are added to balance the water. The initial balancing requires daily brushing.
Installing a gunite pool involves coordinating heavy machinery, complex engineering, and skilled labor. From the first shovel of dirt to the final application of plaster, every step builds upon the previous one. The sequence of excavation, steel placement, and concrete application guarantees a durable structure. Following these steps diligently prevents future leaks and structural failures.
While the construction zone in your backyard might seem chaotic for a few months, the result is a relaxing sanctuary that adds lasting value to your home. Hiring an experienced swimming pool contractor simplifies this complex journey and provides peace of mind throughout the build. Living with a messy yard for a few months is a fair trade for a beautiful outdoor retreat you'll enjoy for years.
If you're ready to start your backyard transformation, contact Bella Pools today to work with an experienced swimming pool contractor.
Share On: